Showing posts with label ClassWork. Show all posts

Friday, 30 September 2011

Sculpting Flat Pieces 1

We began Dramatic Contexts by sculpting flat pieces to turn into silicone prosthetics. We were given Le Beau Touche on a basic tile and could sculpt anything small and relatively simple. I chose to sculpt a eye bag based off a photograph of my Grandpa.


1) Start by rolling a basic sausage shape onto board
2) Block out the basic shape of the piece (in this case the eyebag)


3) Smooth edges with thumbs
 - here i smoothed the edge that would attach to the cheek out normally but for the edge that would sit directly underneath the eye i left a very small, thin edge as the bag needs to start as close to the eye as possible and you don't want to use alcohol to blend in such close proximity with the eye.

4) Tidy the edges by scraping away excess and smooth out again


5) Begin to add texture by adding lines - the best way is to X shape lines that intersect for a natural effect.


6) Sprinkle talc over the piece then brush over with a wire/harsh brush. This sweeps away any balls of clay that have clung to the piece and blends the lines to look natural.


7) Continue this process until texture is complete
- for my piece I wanted a lot of texture as the eyebag I was looking at was on an 80 year old man so has many wrinkles and undulations. I used different tools (iddy biddy, mixing stick, scalpel) to create lines that all originated from the inner corner of the eyebag as this is where wrinkles naturally fall. I repeated the above process many times until I was happy with the result.


8) Use lighter fluid on top of the piece slightly if it needs smoothing and take lighter fluid around the edge of the piece to neaten and create a feather thin edge. This is so the piece fits seamlessly onto the skin when glued and dissolved and it cannot be detected that it is a prosthetic.


Evaluation:

Overall I am happy with the final result of my flat piece. Using a picture for reference helped create a more realistic interpretation of an eyebag. I particularly like the different heights of the eyebag as it's something I wouldn't have known to do without a reference but it makes it appear more realistic. Next time I would work on not spreading the piece out so much as when this is made I think it will go too far down the face meaning it may be noticeable on a moving models face. I must also not build the piece too high as this can look unrealistic. I'm happy with the wrinkles and how natural they look but they may become less pronounced when the piece is made into a silicone flat piece so then I will be able to tell how much texture I need to put into the clay.

Tuesday, 9 August 2011

Application of Flat Pieces Recap

Direct Application

This application method is done all using bondo. This means the actual prosthetic pice is made out of bondo which is like a solid glue.

1) Put pros-aide on the back of the piece
2) Transfer pros-aide onto arm then lift piece away again
3) Dry the pros-aide on piece and arm until it goes completely clear
4) Press the mold onto the skin
5) Peel the outer mold off and the piece will stay on the skin
6) Blend away edges with alcohol

Advantages:
 - Very quick method
 - Piece is completely transparent so you don't have to colour piece and skin.

Disadvantages:
 - Takes a lot more preparation time
 - Piece not as durable and can melt and change slightly if on for a long time.

Makeup done by Pete Tindall during class


Frame Application

This application is done using a card frame around the silicone piece that keeps it taught and still.

1) Put Pros-aide over back of piece
2) Transfer pros-aide onto arm then lift piece away again
3) Dry pros-aide on piece and arm until it goes completely clear
4) Stick piece to skin, using frame to keep it still
5) Blend away spare edge attached to frame with alcohol so frame comes off
6) Tidy edges with alcohol and stipple alcohol of whole piece
7) Colour

Advantages:
 - Frame keeps piece still and means to creases will occur in the prosthetic.

Disadvantages:
 - Takes more prep time than normal.

Makeup done by Pete Tindall during class


Regular Method


This is the normal method used to apply silicone flat pieces.

1) Put lots of pros-aide onto the back of the piece
2) Transfer the pros-aide onto the skin
3) Take piece away and dry until glue goes clear (dry from directly above so edges don't wrinkle)
4) Stick down onto skin
5) Pros-aide edges, transfer to skin and dry
5) Stick edges down to skin
6) Blend away edges with alcohol

Advantages:
- more precise than other two methods so easier to recreate if have to do multiple times across different days

Disadvantages:
 - slower than other methods
 - easier to get wrong which ruins appearance of piece.

Makeup done by Pete Tindall during class - incomplete. 


Saturday, 9 July 2011

Postiche - Whipping

Whipping is a method of putting darts into a wig net too make it fit across an actors face/head. In this case it is the head and neck as we were focusing on beards. The darts have to be completely invisible so they're not picked up on camera.

This was done using:
- wooden block
- cradle
- wig lace
- black thread
- invisible tread
- knotting hook.

First Practice (black thread)

1) Twist material over to form a triangle

 2) Put at least 8 pins in to hold in place


 3) Make starting knot


4) Every 5mm create a knot using the same length of thread. Using normal postiche knotting technique but using the same piece of thread so manually making loops.


5) Go all around triangle, pulling knots tight and turning the corners.


6) Put last knot in the same whole as the first knot to finish off.


Evaluation:
I think I did quite well for my first attempt at whipping, my line was very neat and i acomplished it relatively quickly. However I did make the triangle too big (do not need to knot all the way to the base of triangle) and I needed to pull my knots a little tighter so you can't see a gap in them. With being this loose there's a danger of them catching and breaking when the beard is being brushed.

Second Practise (invisible thread)


Evaluation:
I feel that this attempt was better than my first one as the lines are neater again and the knots are a lot smaller. I also didn't go all the way down to the base of the triangle. It took a little longer as I was knotting with invisible thread which is difficult to see but it's the necessary equipment so that the darts cannot be seen in the beard. Altogether I am very pleased at my first attempt at whipping.

Tuesday, 14 June 2011

Postiche - Templating

After learning how to whip we next learnt how to make beard templates. This is an essential step to do before making a beard so that it fits the actors face perfectly. For this we used tutu netting so that we didn't waste lace netting for practicing. I also used black threading so that I could show what I was doing.

1) First need to take 3 beard measurements:
 - from side-burn to the jaw
 - from ear to middle of chin
 - from underside of lip to Adams apple.

2) Wrap cling film over the bottom half of face (just below nose) it needs to cover the side-burn area. Needs to be taught but not so tight it's uncomfortable for the actor.

3) Cover whole area with sellotape so that it stiffens up can be drawn on.

4) Draw beard shape onto the cling film. If you tell the actor to not shave that morning then the natural hair growth can be seen underneath meaning you can follow it. The basic shape needed peters out halfway up the cheeks and has a W shape underneath the lip.

5) Put sellotape over the top of the drawing.


6) Cut the sellotape shape out of the piece of clingfilm.

7) Pad the wooden block with tissue to make a chin shape on the head with the cling filmed beard. Needs to be well padded so the template holds its shape.


8) Lay the netting over the template. Put points in at the front and at both sides (just above sideburns). Also put points in low on the neck to stretch out the lace.


9) Place finger on the chin area to darts appear under the chin - need between 2 and 4 darts for a beard. Fold them inwards and point them into place.


10) Knot the darts in using the same method as before. Start the knots at the line of the bottom of the beard and go up to the tip of the triangle. I used black thread so it could be seen in photos but for a real piece of postiche we would use lace netting and invisible thread.


Evaluation:

I am pleased with the final result of the template and practice netting. For the templating I could have done better in drawing the of the beard shape. It would have been easier if before hand I has looked up pictures of typical male beards therefore if I do this again I will research a lot of different types of male beards. I also should have used a bigger block to put the template onto as I only used as 52 inch block which is a very small head shape. This meant the padding for the chin didn't sit very well. I am pleased with whipping of the beard as I think the knotting was neat and tight enough. You can also see from the pictures where the net is put onto Kate's chin that it fitted well so therefore the beard would fit well when it was finished.

Thursday, 2 June 2011

Sculpting Flat Pieces 2

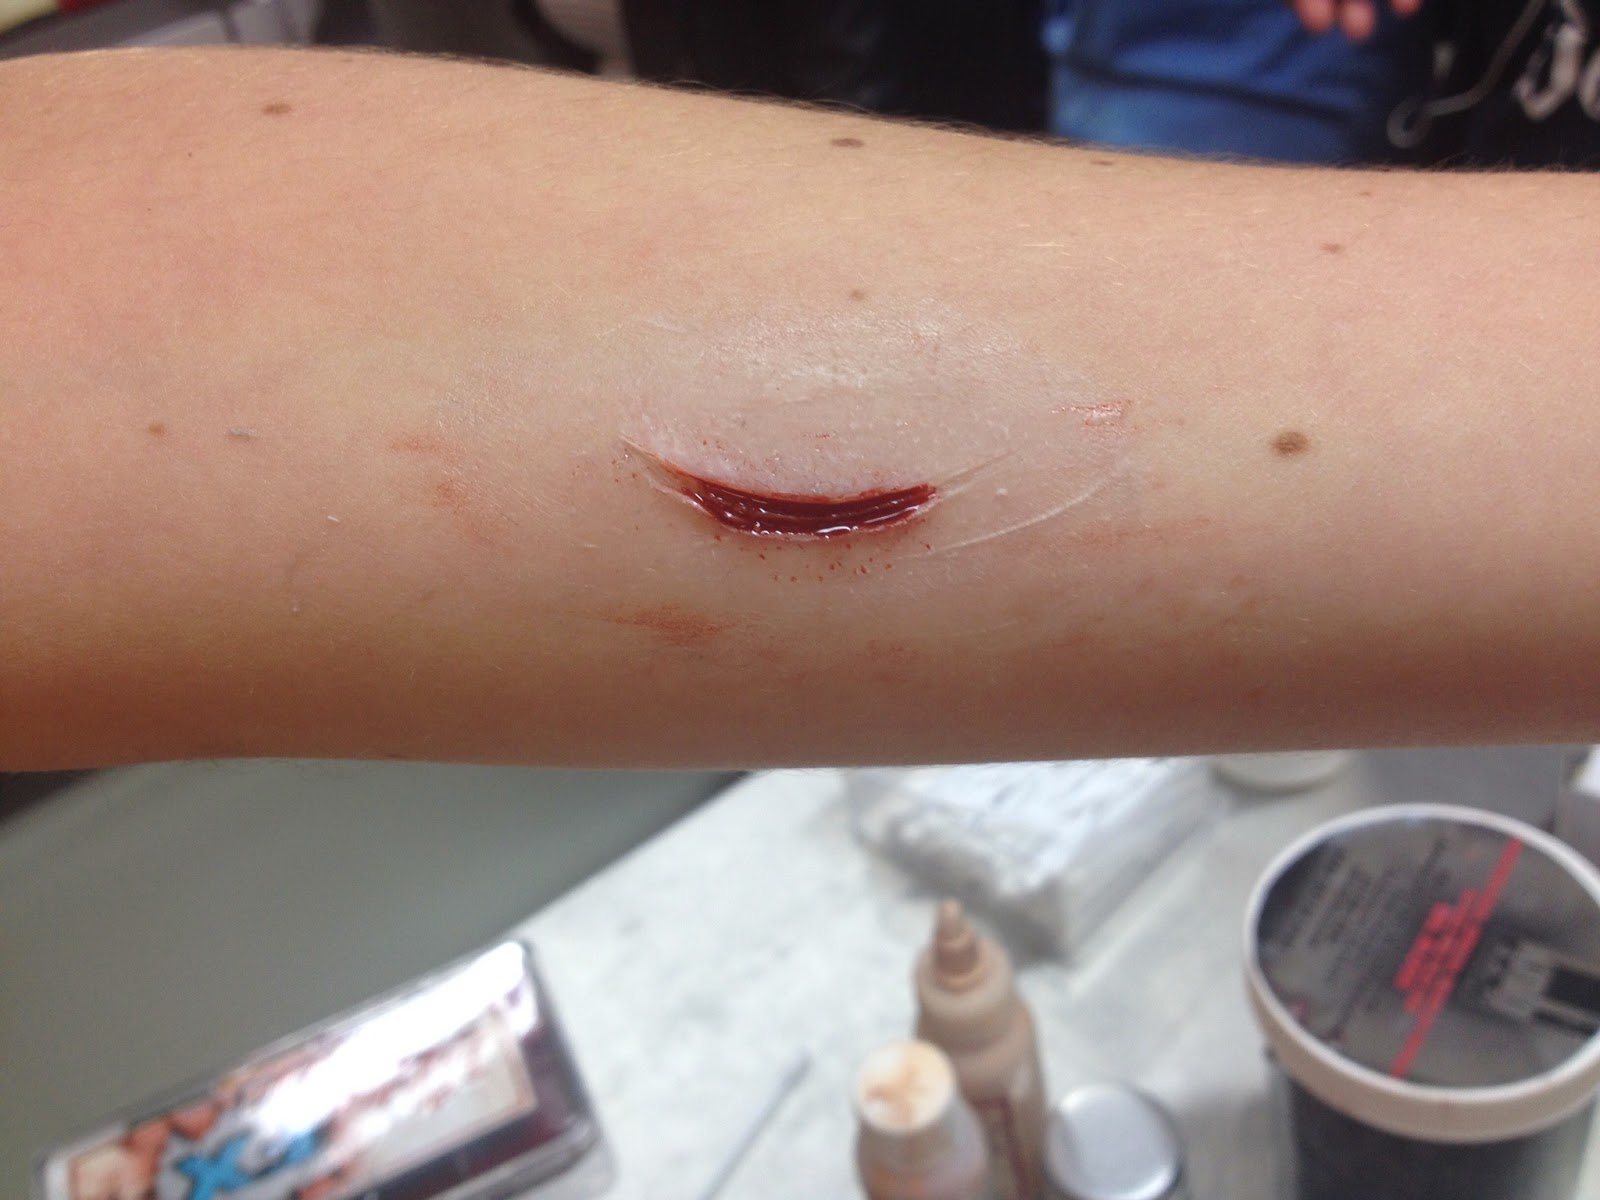
Today we started off by finishing off any pieces we'd started in the last session. I had begun a cut.


The shape is a simple, small cut which I imagine to go on a fatty part of the body. Therefore I began to add fat cells on the inside. This also stops the texture of the tile being transferred onto the flat piece.


I continued to add small rolls of clay until I had filled the gap in the cut. I then texturised the clay to resemble skin.


I had a much shorter amount of time in which to create this flat piece so I am not as pleased with it as I was by eye bag. I could have spent longer on the skin texture and the definition of the cut.

After we had finished sculpting we began making the channel and wall for when the silicone is poured in. We created a channel in the mold as this gives a good edge to the piece that is very neat. An advantage of this is if you're using bondo to create the prosthetic is prevents the bondo from shrinking inwards. It also gives a good edge to hold onto whilst working with the prosthetic.

1) Roll a sausage of clay out and put around edge of prosthetic, flattening slightly. Make sure to leave enough room for a good amount of cap plastic/bondo.


2) Neaten the edges on the inside and the outside using a scalpel/palette knife. This will create a neat channel meaning the prosthetic will be easier to work with and last longer.

3) Make a wall around the edge of prosthetic and channel. The wall needs to be considerably higher than the prosthetic as it will have the silicone poured into.


4) Push down the outer edge of the wall to stop any holes occurring. Silicone is very viscous and can pour out of any holes in the wall so the wall must be 'airtight'.


5) Neaten up the inside of the wall making sure there are no holes and the clay is flush to the board. The smoother the inside wall the better the silicone mold with come out.


Evaluation

Although I was not completely satisfied with my clay cut as i didn't have enough time to perfect it I am very pleased with my clay channel and wall. I think they are the right distance from the pieces so that I will have enough cap plastic to glue down. My wall started off very messy on the inside but after some time I had smoothed it out a lot and I feel this will benefit my silicone mold in being stronger and more resilient. Overall I am pleased with the final result.

Sunday, 15 May 2011

Multicultural Makeup

Makeup for people from different cultures can be very different than the makeup used for Caucasian people. Not only can the skin be different shades and tones but features on the face can also be different shapes and sizes. Some of the foundation colours used on multicultural people are:

Neutral - (yellow/orange undertones) Golden family
Neutral Warm - (red/orange undertones) Red/Gold family
Warm - (red undertones) Red/Brown family
Neutral Cool - (yellow/green undertones)

 - Assess the tone and colour of the skin from the majority of the complexion - a lot of people have a lot of different colours on their face so you may need to pair tones together to get the perfect match

 - Colour correct any areas of the face that are too warm or too cool (face should be neutral)

 - Use a yellow based concealer not only too correct but also to brighten/highlight the face

 - Use a cream product to contour the face but don't cover the natural contour colours in the face.

 - For blush choose something with a warm tone, nothing pastel and apply onto the apples of the cheeks.

- For the eyes first apply a wash of the blending colour. The blending colour needs to be a neutral skin tone colour - red, orange, chocolate brown.

 - For the main colour on the eye can use a solid, block colour and can get away with something quite bright. Blend out this colour with the blending colour, following the natural contour shape of the eye.

 - Use a dark liner and mascara against darker skin tones.

- Highlight the skin with a powder that has a golden undertone.

- Fill in eyebrows with a dark wax as eyebrows may be quite course, extend the shape if needed.

- Use a warm lip colour on the lips, can use pinks, oranges, reds etc. but don't use nudes as will look odd.