Showing posts with label Preperation and Experimentation. Show all posts

Thursday, 19 November 1998

Choosing a Model

For my final makeup I needed to pick a model who had a some resemblance to Anne Boleyn so that I could make subtle changes to the face to create the portrait. I chose my friend Kizzy as there are resemblances in the size and shape of the face to the portrait.

From this photo I can see that the faces are similar but different enough that I can add subtle prosthetics to resemble the portrait.

It can be seen in this photo that Kizzy's eyebrows are a lot thicker than the portraits but Kizzy was wearing a full face of makeup so had filled in her eyebrows a lot. I asked for a photo of her eyebrows without makeup to know whether I would need to cover them.


From this photo I can see that the eyebrows are sparse enough that I don't need to cover them, just change the shape of them.

After I had decided that I wanted Kizzy as my model I mocked up comparisons of Anne Boleyn and Kizzy on photoshop to see where I wanted to add the prosthetics.


Seeing these photos with different levels of fade on I think that I need to do a closed mold chin piece to extend the chin, a small nose piece to extend and straighten out the nose, flat piece eyebags to recreate the lines underneath Anne Boleyn's eyes. I haven't yet decided whether I will do a bald cap and lace re-front. The hairline is slightly further back at the center and a lot squarer at the temples but it's not a huge amount of change for what is a lot of work to do a bald cap and lace-refront. I think I will talk to different tutors to make a final decision. 

Monday, 19 January 1998

Tutorial Notes


On the 10th of October I had my first tutorial. These were the notes I made.


On a later date I discussed with Laura, Sara and Pete the concept of doing a lace re-front for my piece. All the answers I got were different but I decided to take Pete's advice and do a re-front. I really want to push myself with this project and as I have no facial postiche I will have no knotting to do if I don't do the re-front. If I don't do the re-front I will have to colour the hair somehow (hair chalks, airbrushing etc.) so the wig means I have control over the colour. Although the distance between the real hairline and the new hairline won't be that different I think it will make a subtle change to Kizzy's face which could make the whole makeup. To confirm this idea I did a practice with Kizzy's natural hair to see if I could re-create the shape of Anne Boleyn's hairline.


Doing this hair experiment confirmed that I do want to do a re-front as with Kizzy's natural hairline I cannot achieve the distinctive square shape of Anne Boleyn. It doesn't look Tudor realistic or realistic to my portrait and I would prefer to be more accurate and have more control by doing the re-front. I am aware that in the industry and lower budget and the fact it's a small change may mean it may be done with the models own hair but to be as accurate as I can and to push my skill level for this I have decided I want to do a lace-refront.

Thursday, 20 November 1997

Assessment Initial Plan


My initial plan for the assessment from looking at my photoshop designs is:

Prosthetic Nose:
I will be doing a prosthetic closed mold nose to extend and straighten Kizzy's nose. Anne Boleyn's nose is longer and more rounded at the bottom than Kizzy's so I will be doing a nose tip and as Kizzy's nose has a slight bend in it and is very slim I will be straightening in out with the prosthetic.

Prosthetic Chin
Anne Boleyn has a longer face than Kizzy's so I will be extending the chin slightly with a closed mold prosthetic chin. It will be a simple piece just to extend the jawline.

Prosthetic Eyebags
The portrait has much bigger more distinctive eyebags than Kizzy has so I will be making two flat piece eyebags. Again they will be relatively simple and small with the bumps that Anne Boleyn had in her eyebags.

Bald Cap
So that I can move the hairline back slightly I will be applying a bald cap. I will be making the bald cap out of bald cap plastic so it can be melted with acetone.

Re-Fronting A Wig
I will be putting a re-front on a cheap wig so that I can change the hairline to what I want. I will be creating a very square hairline to mimic Anne Boleyn's and dressing the hair to all sit at the back of the head

Lips
With foundations and lip colours I will be making the lips look thinner. I don't think I need to do any prosthetics for this as I can do it with basic makeup. I will put the skin colouring over the lips then drawing in new lips with lipsticks.

Texture
The portrait doesn't have much visible texture and is in fact very smooth. Therefore with makeup I will be making the face look as smooth and 2D as possible. I will also not be adding skin texture to the prosthetics as I want everything to look very smooth and slightly unnatural.

Colouring
Kizzy naturally has a pink undertone where Anne Boleyn has a more yellow undertone so along with making the face look very smooth I will be changing Kizzy's undertone to yellow to match the portrait. I will also be copying any highlight and shading areas on the face such as the highlighting on the forehead and the shading around the nose. This will make Kizzy look more like she's in the lighting of the portrait.

Sunday, 20 November 1994

Face Casting the Model

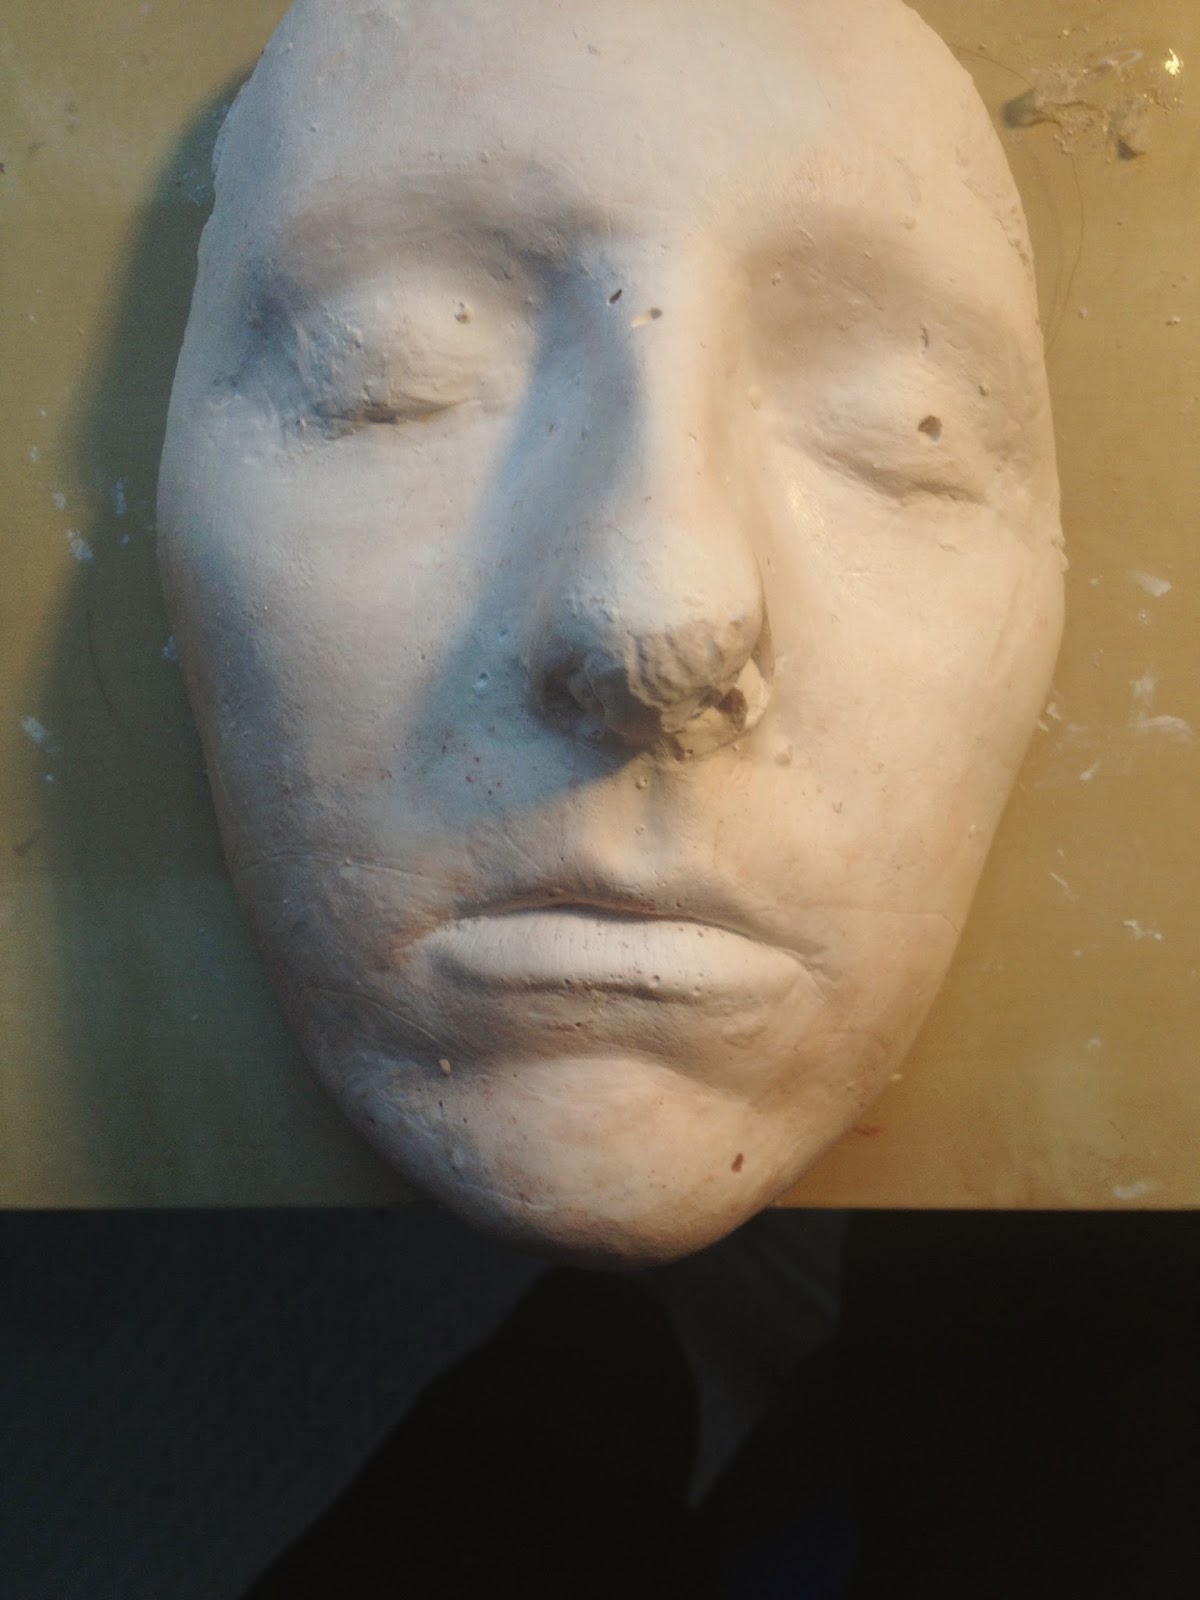
To do my closed mold sculpts I needed to first face cast Kizzy. As I was doing a nose closed mold I wanted to take extra care around the nose to get the best face cast possible that I had to do the least alterations on. This is how the plaster face came out:


 I used metal sculpting tools to scrape any plaster lumps off the face and thick plaster mixture to resculpt the nose and fill in any holes on the face so that I would have a smooth surface to sculpt onto.


Because I was making two closed molds I decided I wanted another face cast so that I could easily prepare the two molds at the same time to save time in the project. I covered my original face cast in alginate then filled the negative of that with a plaster mixture to create a second face cast.


Evaluation

I was happy with my original face cast as the nose went a lot better than the first face cast I did for our old age sculpt. It still needed re-sculpting but I followed Kizzy's own nose and was happy with the final outcome of the sculpt. I think the nose will be a good base to sculpt onto. Making the second face I thought the nose would be better as I could cover the whole face in alginate but there were still mistakes in the plaster. I think this was from the alginate being quite thick and not catching all the detail of the face. I will be using the second face cast to create the chin piece so the nose being wrong won't be much of an issue.

Saturday, 20 November 1993

Sculpting Closed Molds

Nose sculpt


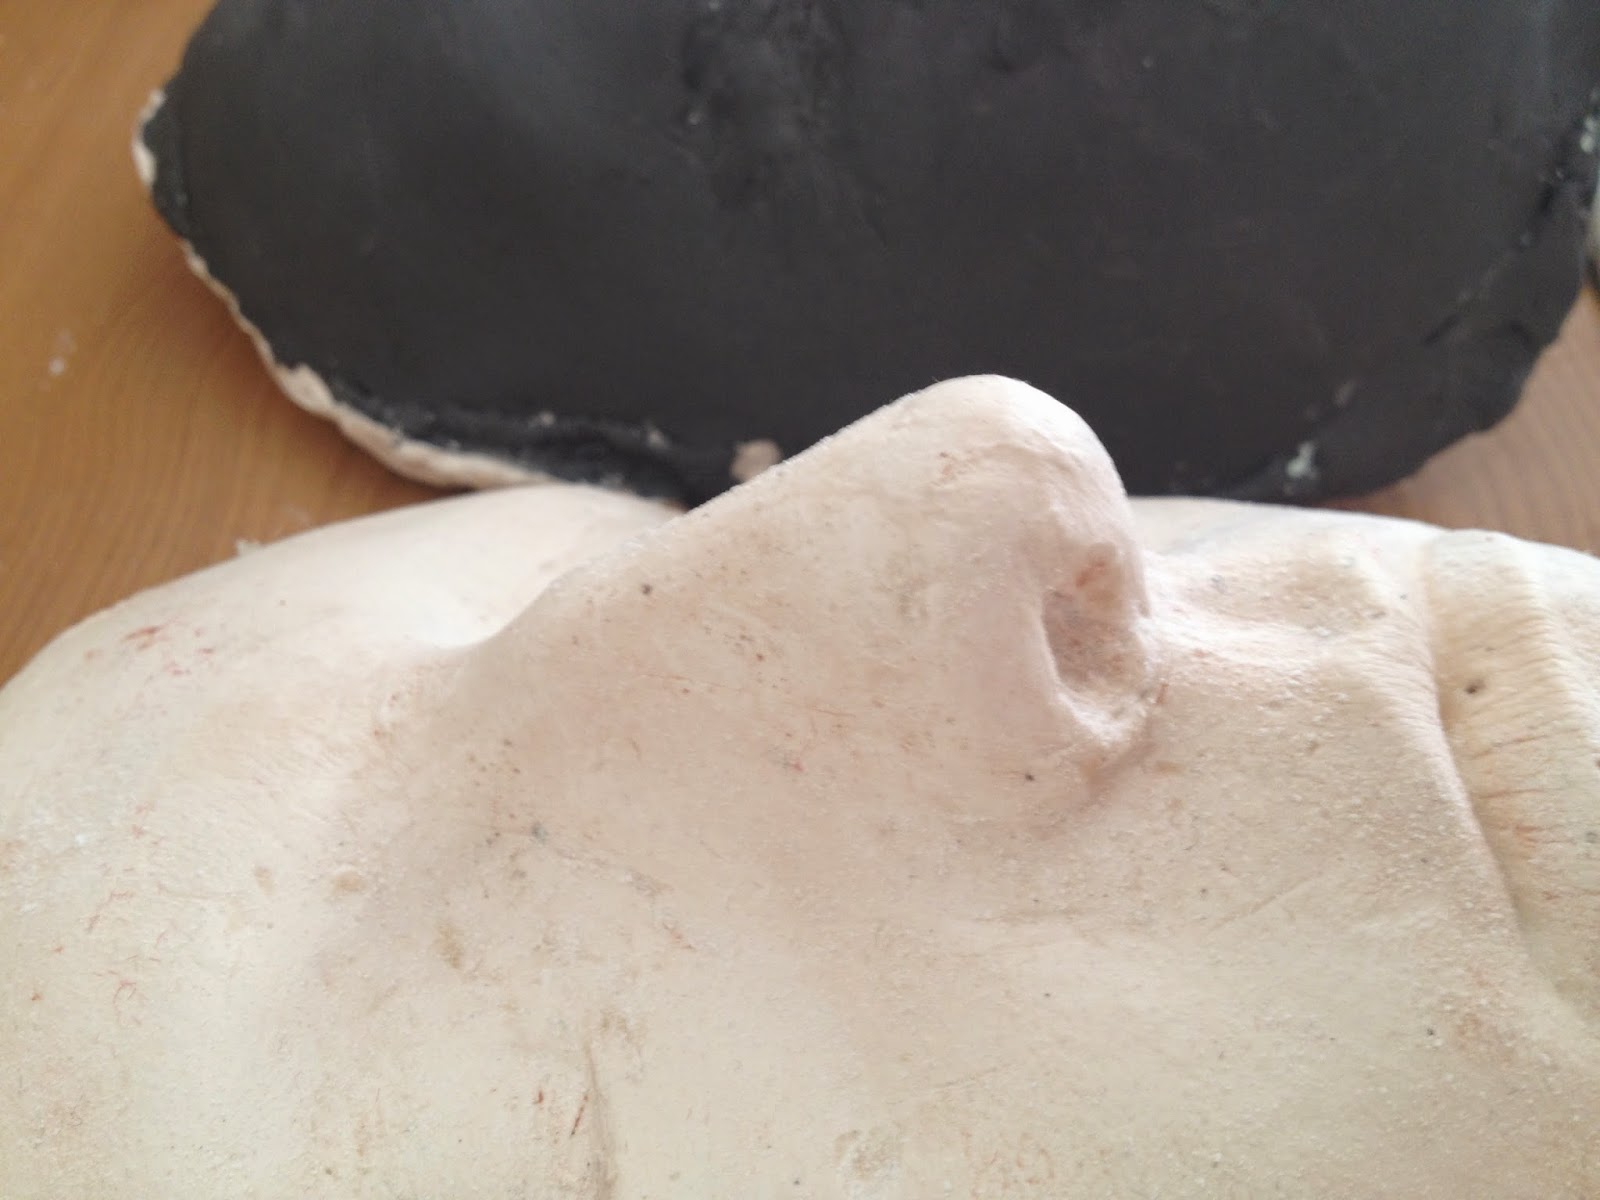
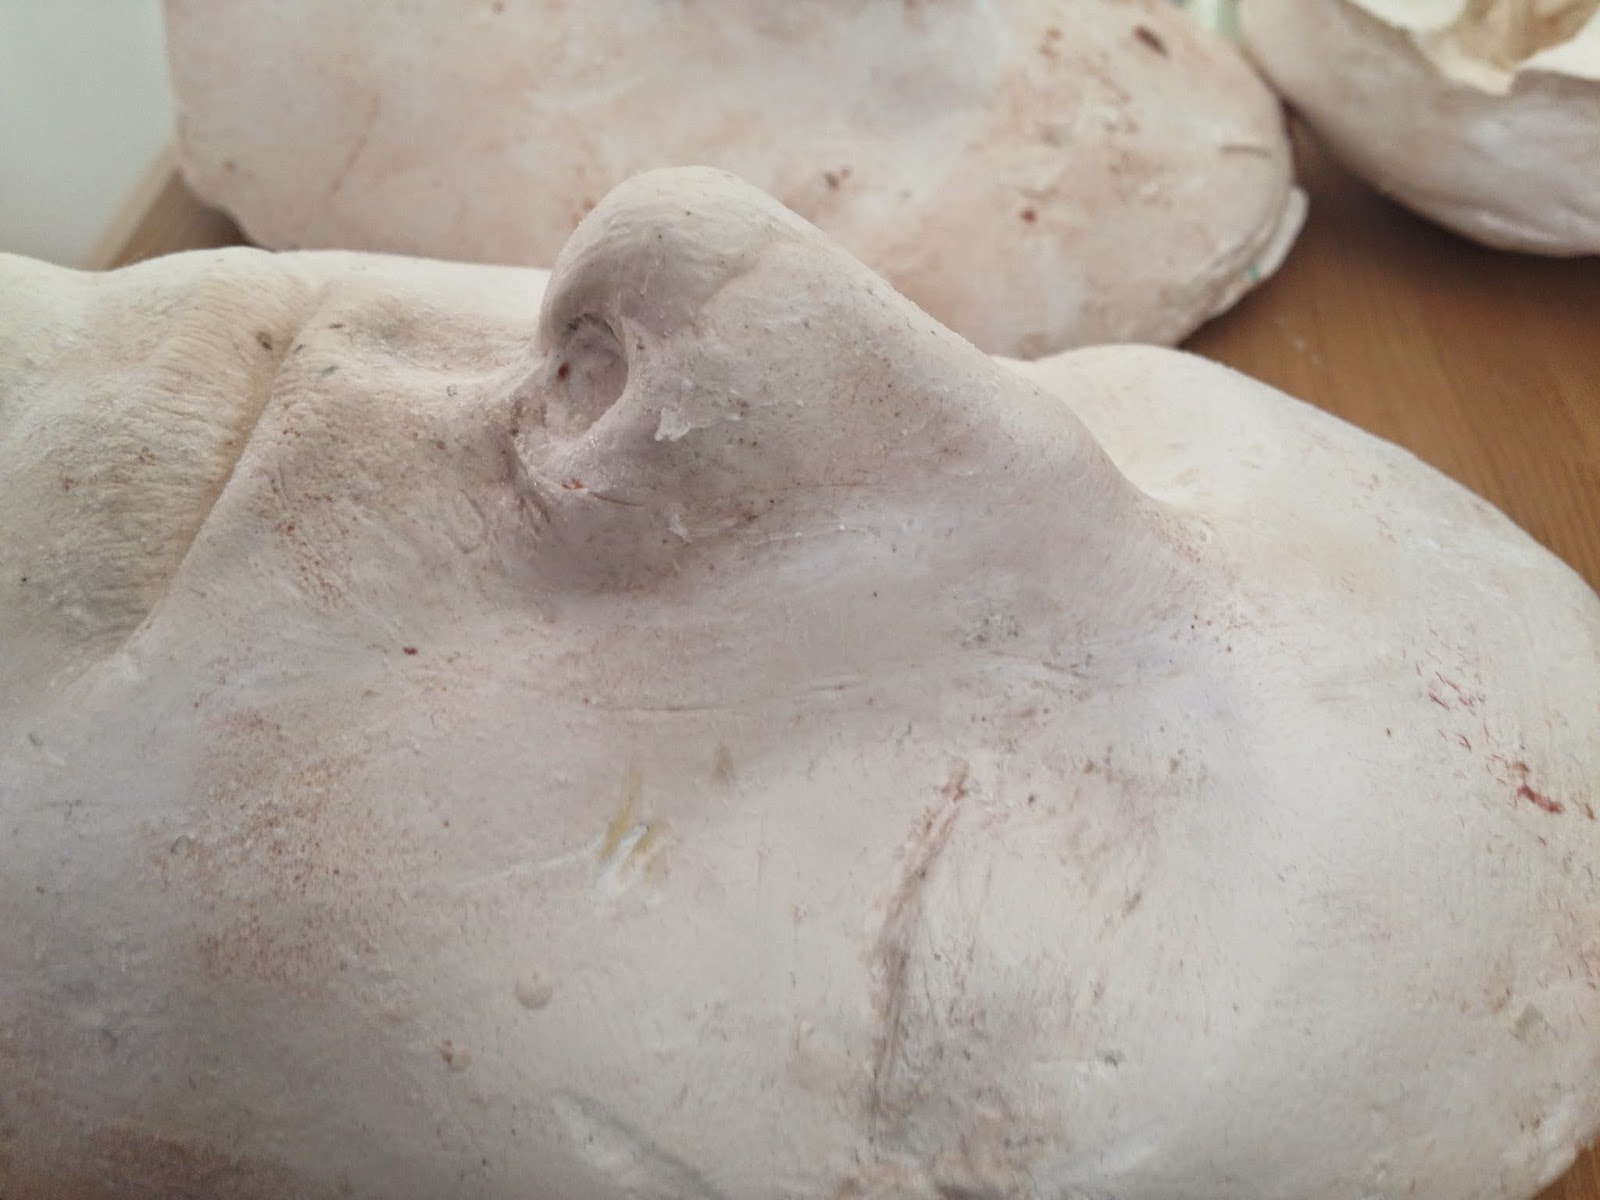
As can be seen from the photo, Anne Boleyn's nose is slightly longer and more rounded than Kizzy's so I will be doing a nose tip to extend it. You can also see in this up close photo the slight bump in Kizzy's nose that although I can't completely hide as I want to keep the natural thinness of the nose so if I covered the whole nose in a prosthetic it would look wider and less natural. Therefore I will extend the clay up to the bridge of the nose to smooth it out, straighten the nose and blend in the prosthetic more.


This is my sculpt for my nose. It has lengthened and rounded the tip and gone over the bridge to smooth it out. I unfortunately didn't get photos of the flashing.


This is the inside of the mold once it has been set and taken apart from the face cast. I had to alter the negative of the flashing slightly as it was bending inwards meaning the first few gelatin prosthetics ripped. I used a metal tool to scrape away the excess plaster. I also think my touch downs are too small now it has come out in plaster so they won't keep the cast in place well enough. Apart from that I am happy with this mold and hopefully it will work well in making my prosthetics.

Chin Sculpt


Anne Boleyn's face is clearly longer than Kizzy's and seems to extend all the way from her jawline. I will need to a sculpt an extended chin all the way from the end of the jaw and it will need to be squarer than Kizzy's actual chin.


This is the sculpt of my chin. It extends downwards from the natural chin into a more square shape and smooths out into Kizzy's natural jawline. I don't think my flashing was done well enough as it kept falling off the face cast. I think it's too high and quite uneven so next time I do flashing it needs to be a lot smoother and neater in case it affects the final outcome of my prosthetic. 


This is the inside of my chin mold. Again I feel that my touchdowns are too small and I'm also worried I didn't put the flashing far back enough so there won't be enough cap plastic to blend out. I am very happy with the shape of the mold and think it's flat enough on the bottom so it will stand up properly when the face cast is put in.

Saturday, 21 November 1992

Gelatin Nose Piece

I first tried my closed mold using gelatin as it's a quick and cheap way to test out the mold and the material can be used again if it goes wrong. I had to try the mold 5 times until I got a nose that was usable as the gelatin kept ripping as I took it out the mold. I think my flashing was at too steep an angle and first the weight I was putting on the mold was too much causing the excess gelatin to be too thin and tear. On my last try I didn't put a weight on the mold and used a lot of Vaseline as the release agent. There were still rips in the gelatin but the nose was usable. 


I tried the nose on my model Kizzy to not only check whether I wanted to use gelatin as the material for my prosthetic but also to check whether the nose would fit on the day.


I didn't have witch hazel to melt the gelatin away so I had to use hot water which isn't as good. As you can see from the pictures above the edges were very think as most of the thin edge tore away. There is also a very noticeable rip at the bridge of the nose which would be very obvious on the final makeup. I didn't like the fact the nose went quite squishy where I was blending the edges and I feel the gelatin look quite unrealistic as a nose piece as it's too soft. I am however happy with the shape of the nose as it has extended it a subtle amount and has slightly straightened the bump in Kizzy's nose. I think I would prefer to do this nose in silicone but I will try it out before I do the formative assessment.


Thursday, 21 November 1991

Gelatin Chin Piece


I made my first chin piece out of gelatin as a cheap and quick way to check if the mold work and in case I wanted to make the final piece out of this material. It came out a lot better than the nose piece with a lot more blending edge to work with. 


I applied it to my model to see if I liked the material on her face and whether it fit properly. Again I didn't have witch hazel so had to blend with hot water which doesn't work as well.


I was quite happy with this chin piece and although the blending edge isn't perfect it's a lot  better than the nose. I again think the material is too soft for a chin which is quite a hard part of the face. I am relatively happy with the shape of the chin however from some angles I think it looks a little fake as it doesn't quite blend into the jawline properly - I feel it comes out at an unnatural angle so is therefore not a subtle prosthetic piece. I'm not sure whether I will make this piece out of gelatin of silicone so I will try it in silicone to make a decision.

Wednesday, 21 November 1990

Bondo Eye Bag

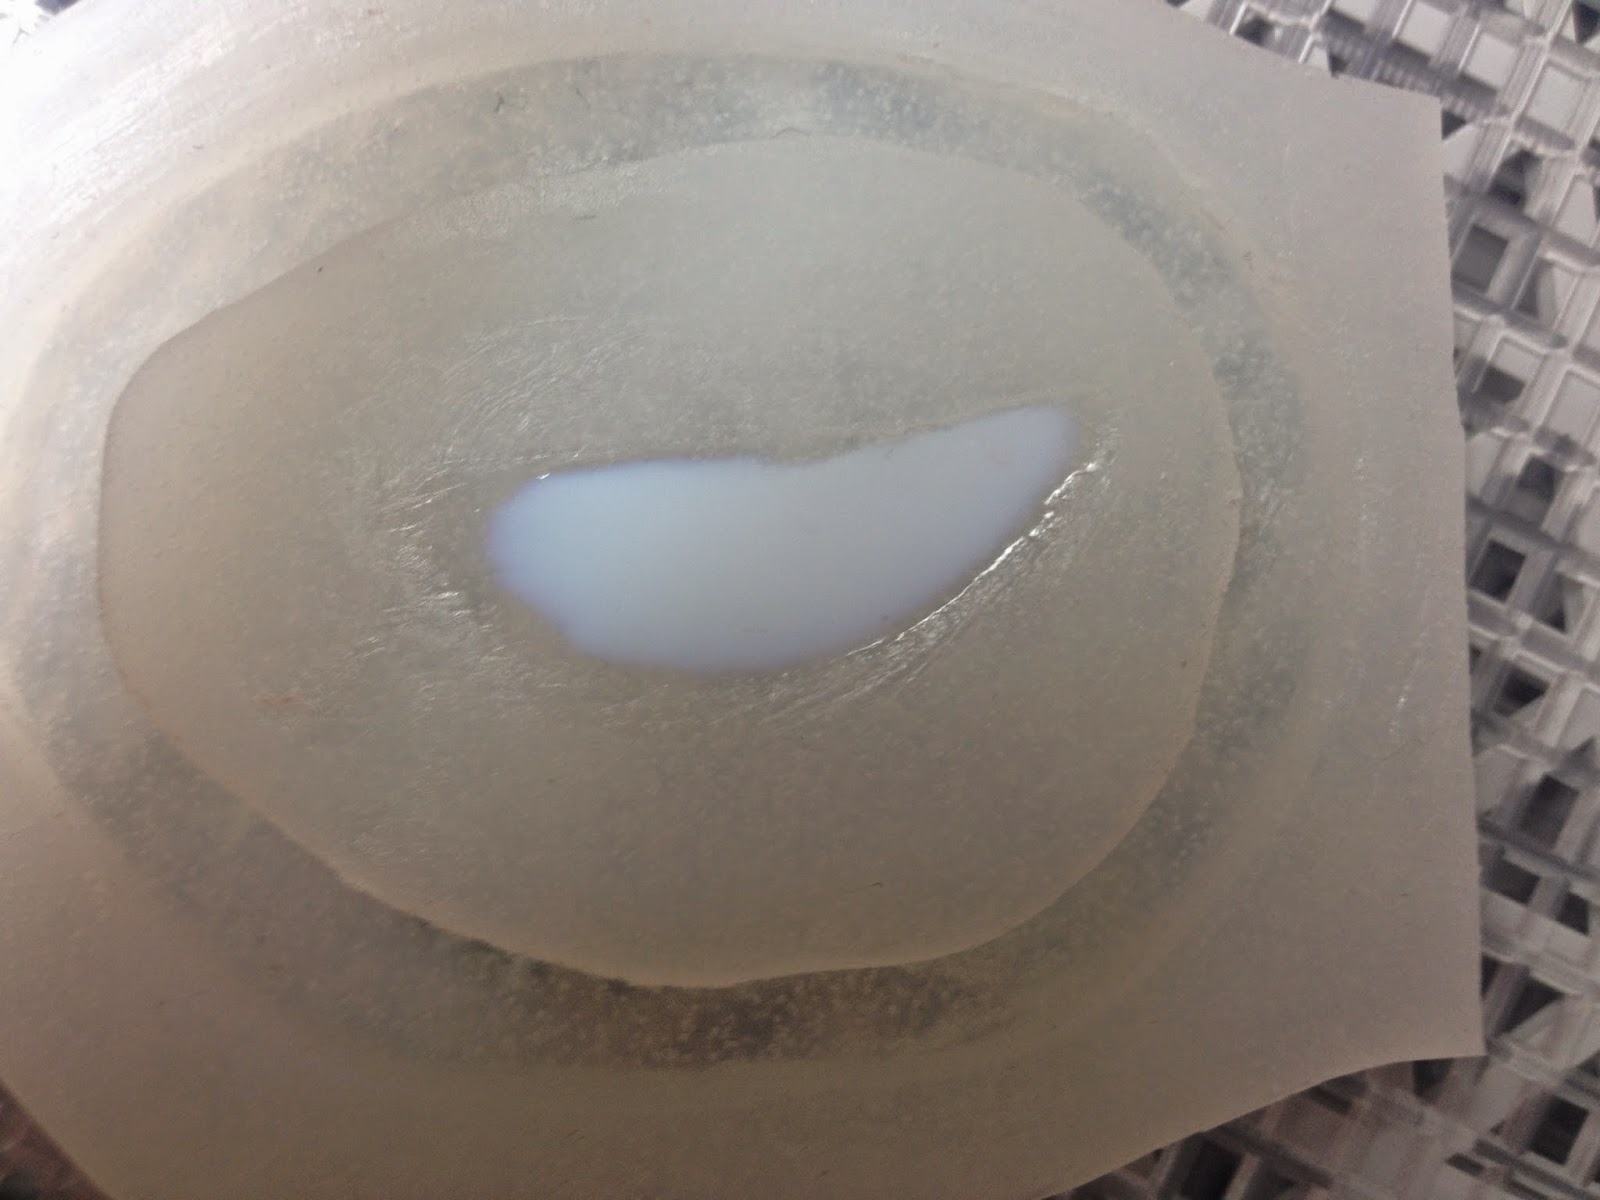
After I had made my flat piece mold I decided to do a quick experiment with bondo. Bondo is a glue based prosthetic meaning it's self adhesive and very quick to apply. It also doesn't need blending in which can be good as if I makde a silicone eyebag it will need blending with IPA which can be quite harsh around the eye area. I scraped the bondo into the mold then put it into the dehydrator for a few days until the bondo had gone completely clear.


I applied it to my own face to test the material out.


I found the eyebag difficult to apply as the mold was translucent so it was hard to see where I wanted the eyebag to sit. It was also difficult to press into place as the eye is a sensitive area. I also feel a lot of the detail was lost and the sides rolled over meaning it looked wrong. It applied too far down my face and I feel it would be even harder to see where to apply it and to get the pressure right on my model. For this reason I don't think I will be making my eyebags out of bondo for the assessment.