Showing posts with label Ageing Research. Show all posts

Saturday, 7 May 2011

"Age makeups ... should be utterly persuasive"

"Age makeups ... should be utterly persuasive" - (Morawetz, 2001)

In the chapter Variant Selves from Thomas Morawetz's Making Faces, Playing God: identity and art of transformational makeup Morawetz focuses on the art of ageing a character in film and TV.

He says the intervention of makeup should not even be suggested, however the actor cannot be unrecognisable. As a viewer we must be able to see the resemblance with the change. As a makeup artist you need a knowledge of the physiology of ageing - you must know how and why cells deteriorate, wrinkles appear, cheeks become hollow, hair recedes and coarsens, jowls collapse and skinfolds form. There also needs to be an understanding of the trajectory of the characters life - how any adventures, cares, adversities, joys and indulgences make up a characters unique historry and how these in turn etch themselves into a persons appearance.

Due to the fact that we only see a portion of somebodies life during the course of a film of TV episode/series the history of someones life must be able to be read more effectively than in real life sometimes.

From the view of technical skill the prosthetic pieces must be thin and delicate. In many cases they must create the illusion of subtraction - the idea of the face beginning to collapse in on itself. These difficulties in the techniques of age makeup have made it a field for experimentation. Several artists have been trying new or once rejected materials.

1 - Matthew Mungle
2 - Gordon Smith
Gordon Smith (FXSmith) is known for his work with silicone runner materials

Matthew Mungle and Steve Jason (XFX inc.) use gelatin in ageing.

In both cases the main advantage is translucency. Silicone and gelatin are semitranslucent which allows the skin to show through. The result is an appearance of depth - it reflects light and mimics properties of skin - it tends to move, wrinkle and fold convincingly.

Achieving these same effects with foam latex is difficult. This is because latex is opaque and it covers the skin completely. Therefore it has to be coloured with layers of colour which also has to be added to the actors bare skin to match it.  Adding all this colour means the pieces can appear too shiny or not shiny enough giving it a fake appearance.

However materials such as silicone rubber are hard to attach and needs new kinds of adhesives. It is also harder to blend the edges. Gelatin has a longer history of being use in the makeup industry. It is known for the fact it can begin to disintegrate in heat, sweat and can tear through friction.

We all have previous notions of how people age as we experience age in our friends and with those who are close to us. We learn how their hair recedes, bone structure changes etc. The makeup artist must guess convincingly that this is the way a character would age. Something that many people forget is that all of our features age gradually at the same rate - a two decade change may require as many alterations (slight ones) as a five decade change.

In 1970 Dick Smith revolutionised sage makeup in the film Little Big Man. It used a framing device where 121 year old Jack Crabb recalls his life in the old west through flashbacks. The makeup consisted of multiple, thin overlapping foam latex appliances that fitted together over the whole actors face.
6

3
4
5
7
"This was a landmark for me because of the great opportunity to create a 121-year-old makeup on Dustin Hoffman. I did extensive research and spent six weeks sculpting the overlaping appliances for the head and hands. There were many other makeup problems and filming on location with temperatures from over 100 to 30 below zero was rough" - (Smith, 2014)

The techniques Smith used in Little Big Man were widely imitated and remains the standard makeup procedure for ageing makeup to this day.

Another example of extreme age makeup is that created by Micheal Westmore on StarTreck: Deep Space 9 for the episode 'distand voices'. The character of Dr Julian Bashie is under spell from alien intelligence. In his mind he is living his life in fast forward which ends at his birthday celebration for his 100th birthday. The makeup closely follows Smith examples to convey great age - the folds of skin collapsed onto the skull, eyes enhanced with contact lenses to seem more sunken.

8 - Alex Siddig before and after makeup.
Generic pieces can also be used on low-budget low-visibility projects to great effect. Norman Bryn does age makeups for pharmaceutical ad campaigns and for this he uses generic pieces.


9 - Norman Bryn's makeup

This chapter was extremely helpful in ageing research as not only does it talk about the way skin and ageing works but also the techniques and materials used in ageing makeup. It mentioned many famous films that included good ageing makeup that will be helpful in my researching process. Overall it was extremely well written and was well supported with photographs.

Morawetz, T (2001) Making Faces Playing God. China. University of Texas Press. 154 – 186


Sunday, 28 October 2007

"Faces go through a tremendous amount of growth and change"

In the chapter Anatomy and Design from Todd Debreceni's Special Makeup Effects Debreceni talk about the process of how our bodies and faces age throughout different stages of our life and what can influence this. 

He says as we grow, our bodies go through a whole series of physical changes. Faces especially go through a tremendous amount of growth and change from youth to old age. However at the same time there is also a significant constancy of appearance. A persons face normally looks very similar throughout their whole life, no matter the age. This similarity is called gnomatic growth (a process that leaves facial features in later years similar to how they were in youth.)The first twenty years of life are constructive and growth orientated, the years after this are degenerative and destructive.
For a makeup artist nothing is more beneficial to makeup designs than reference images. You also need a firm understanding of how the human body ages. Depending on which part of the body, aged skin wrinkles and folds in specific directions – these lines were mapped out by Austrian anatomist Karl Langer in 1861.

20 - Karl Langer's skin tension lines
Everyone ages differently due to the fact there are factors beyond genetics that contribute to the ageing process. These include smoking, alcohol, drug abuse, stress, fitness (or the lack of) lifestyle, environment (sun exposure, pollution etc.) – these can all contribute to visible ageing whether it be premature or prolonged. However even with these factors there is a fairly predictable series of changes that seem to occur in a similar order for most people. For example, wrinkles will appear in certain areas and then in others - usually first on the forehead, then around the eyes, then the nose and the mouth. Wrinkles also have a progression so first they appear as lines, then grooves, then furrows then folds.  Wrinkles always appear perpendicular to the stretch of underlying muscle for example the horizontal lines across the forehead are perpendicular to the vertical pull of the fronticulis muscle of the face.

21 - Facial Anatomy
22
20s
-          Fine transverse lines may appear across the forehead.
-          Fine vertical glabeller lines may appear in people who frown frequently
-          Fine central orbital lines (or crows feet) may appear in people smile often or spend a lot of time in the sun


23


30s
-          Transverse frontal lines deepen
-          Vertical glabeller lines deepen
-          Lateral orbital lines increase in number and deepen
-          Transverse nasal lines may form across the top of the nose
-          Nasabial lines or furrows become noticeable


24

40s
-          Inferior orbital groove may become apparent
-          Eyebrows may descend slightly
-          An excess of upper eyelid may develop and a portion of the superior orbital groove may be obscured on the lateral side.
-          Jawline becomes less firm
-          Circumoral striae becomes noticeable, especially in smokers
-          Lips begin to thin
-          Oromental groove may begin, depending on facial structure.
-          Mentolabial groove becomes apparent, depending on facial structure
-          Fine lines in neck become noticeable


50s
-          Inferior orbital groove may define a developing pouch under the eyes
25
-          Excess upper eyelid tissue may worsen, obscuring more of the superior  orbital groove out the lateral side and creating more lateral orbital lines
-          Nasobial furrow becomes more noticeable
-          Dromental groove deepens
-           Lips continue to thin, especially in people who have naturally thin lips
-          Dental changes may  become apparent, increasing lines accordingly
-          A buccomandibuular groove may appear
-          Jawline becomes much less firm
-          Jowls and double chin may appear
-          Lines in neck are more noticeable
-          Arcus senilis may begin to appear in the eyes (cloudy grayish or whitish arc or circle around the periphery of the cornea of older adults. It’s caused by fatty acid deposits in the deep layer of the cornea. More commonly found in men)


26
60s
-          All aforementioned lines become exaggerated
-          The circumcural striae may cross the vermillion border of the lips
-          Jawline is very soft, and tissues under the neck sag


27
70s +
-          All aforementioned lines become more pronounced and defined, accompanied by a marked loss of elasticity of the skin and sagging tissue


28 - Age sculpt for The Curios Case of Benjamin Button

29 - Vincent Van Dyke age makeup

It is important to remember that hair loss and slight weight gain can affect appearance of ageing beyond normal chronology.

Overall I believe this section of the chapter was extremely helpful for my project. The detailed list of what each ageing process is at the different decades is very helpful for my age sculpt and also for my portrait research as my model will be younger than my portrait. I enjoyed the stress the chapter put on the importance of knowing the the facial anatomy of ageing and the picture references it showed for this.


Debreceni, T (2013) Special Makeup Effects for stage and screen. 2nd edition. Abingdon. Focal Press


Sunday, 28 November 2004

Sculpture Research 1

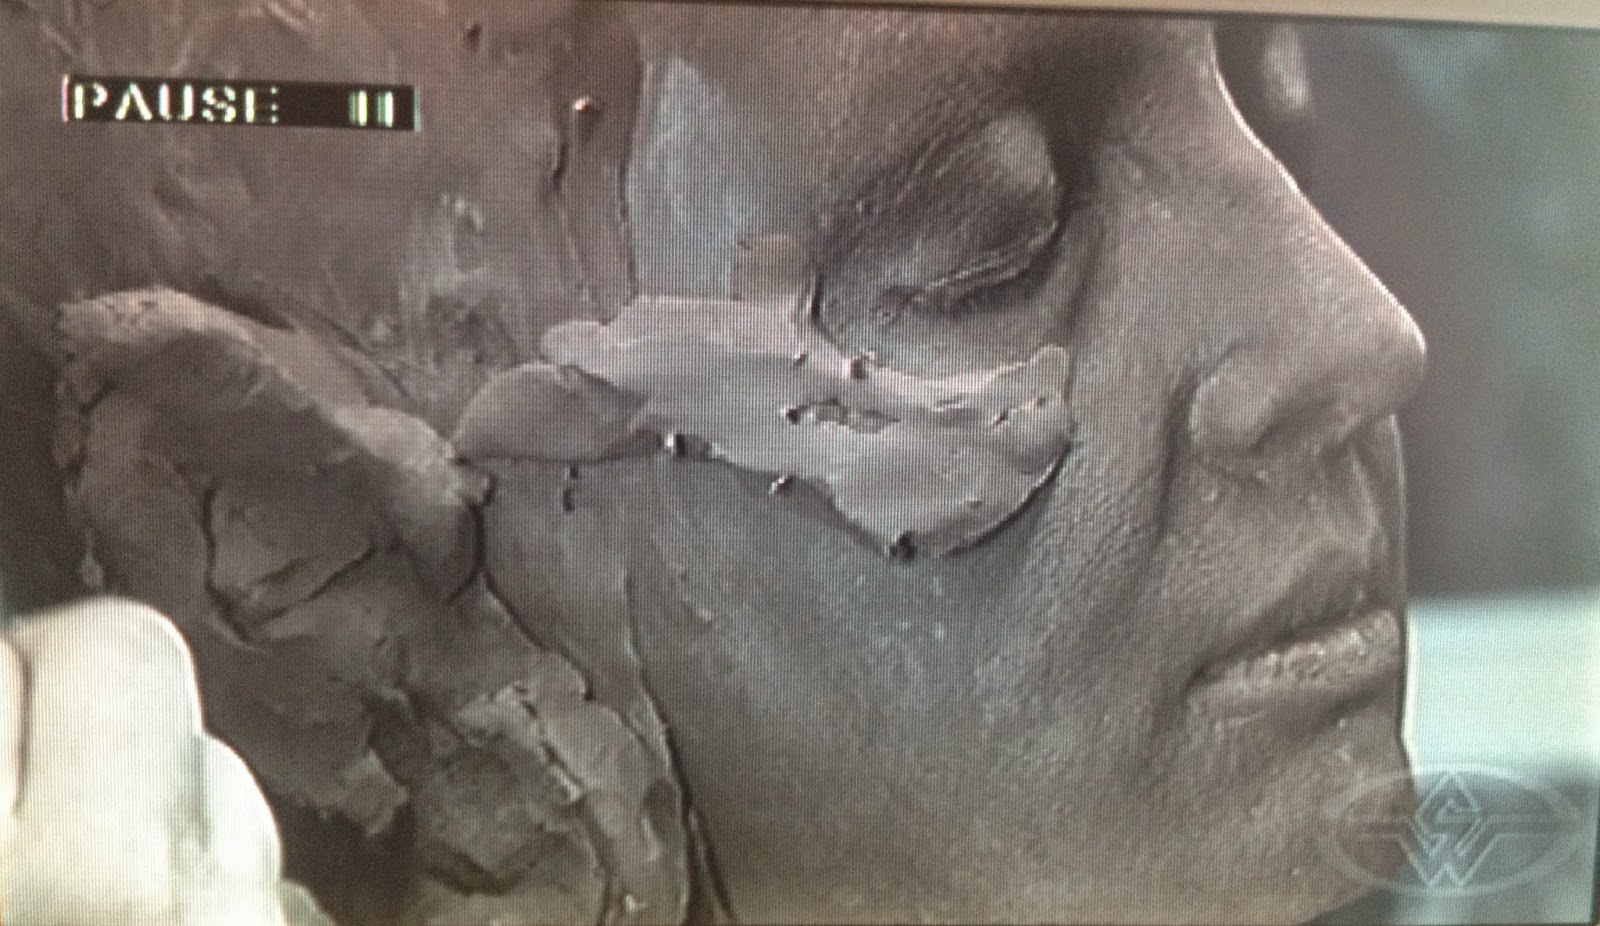
Creating character prosthetics in silicone - part 2: preparing for and sculpting the prosthetic appliance


78

1) pick out any features and details that you want to translate onto your sculpture with pencil so you don't place any natural lines in the wrong place

2) Use one reference photo for general inspiration to get the look and feel of the character then use others when needed to look up certain bits.

79

80

3) Start by roughing out the face you want by placing sausages of clay and using mostly the hands as tools - follow the natural lines of the face cast so everything is natural and blended well. No need to be neat just marking out where the main shapes will be.

81

4) Sketch in rough lines with tool to begin to mark out more winkles and folds

82

5) Use a tool to drag over the surface of all the clay in a crosshatch motion to get rid of any lumps and bumps and smooth the sausages together

83

6) Reduce the size of the tool to get in more detail and refinement and continue to crosshatch over whole surface.

84

85

6) Use a serrated loop tool to continue refining and smoothing out the surface.

86

87

7) Then use a wire brush over whole surface to refine and smooth even more.

89

8) Use ligter fluid to finish refining the sculpture but keep putting the detail back in it it's getting lost.

9) Leave the sculpture a few hours for the lighter fluid to completely evaporate off.

10) Put talc over the entire surface to brush off any beads of clay

90

91

11) Layer the entire piece with surface texture by continually talcing and racking it away. Human skin is textured all over and by creating surface texture pores etc. will then look more natural and the whole thing is more real looking.

12) You lay plastic over the piece and draw the tool over this to create very soft lines

13) Add in fine lines and wrinkles at this stage then keep going over with powder and wire brush.

92

14) For pore texture push marks in with corner of a tool ten soften with wire brush again. Remember pores are more elliptical than perfect circles.

93
15) Make a slurry with a mixture of clay and lighter fluid to create realistic bumps and raised areas of skin- as the lighter fluid evaporates these will shrink and look very realistic.

94

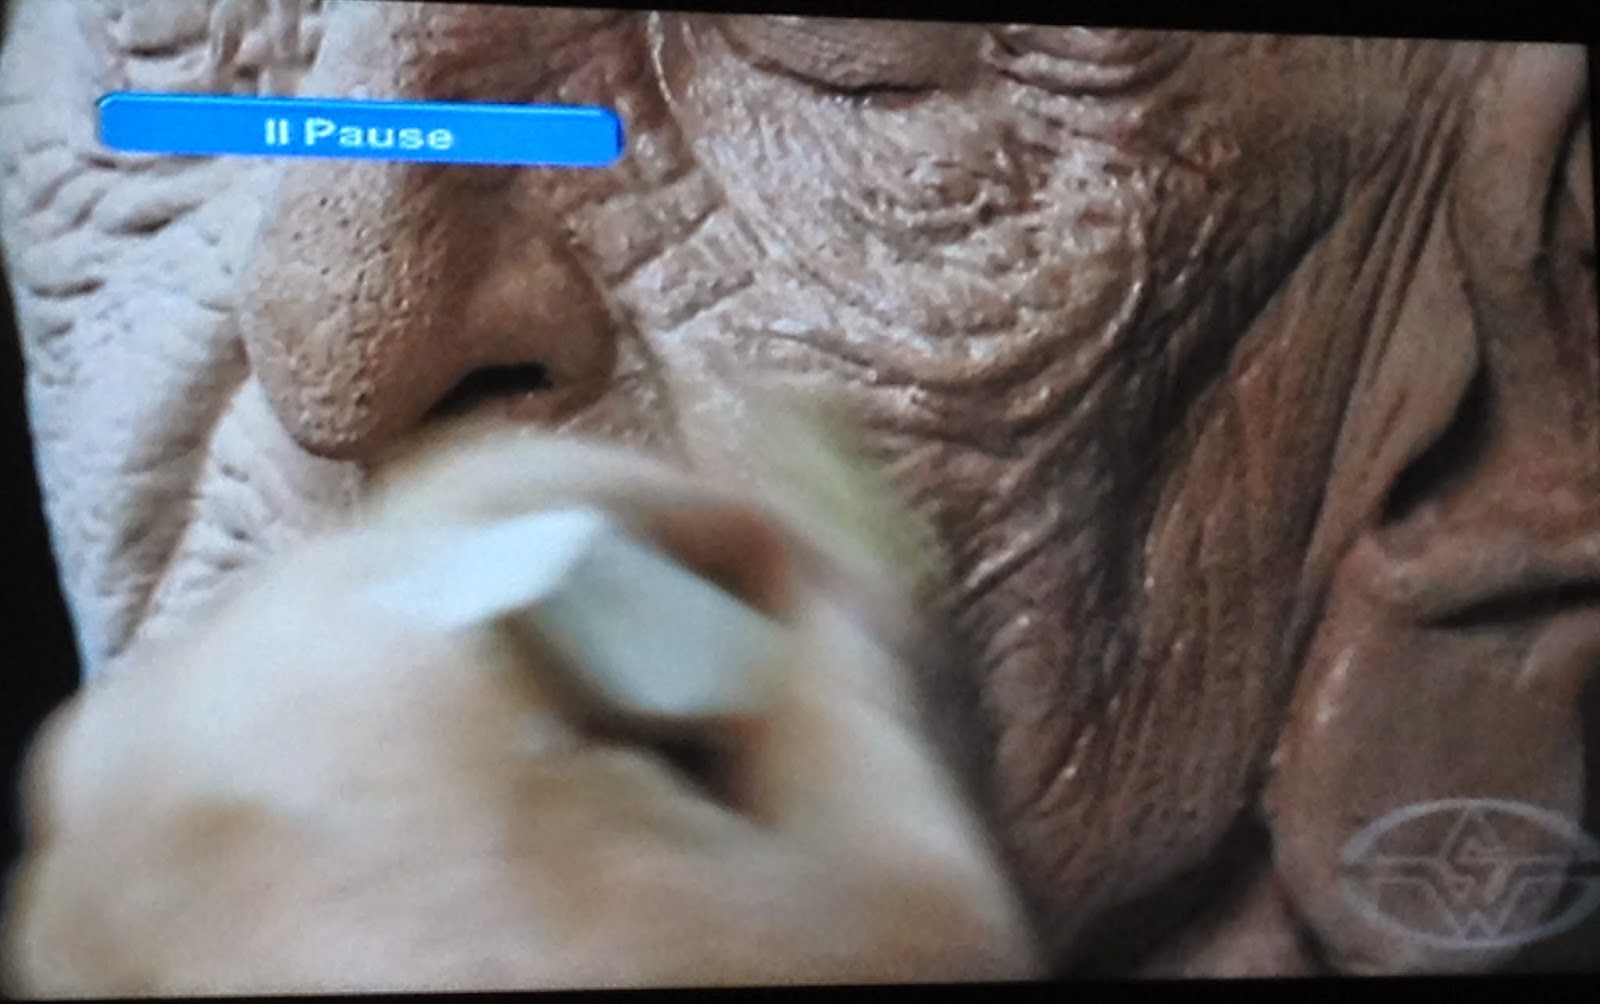
I think this section of the DVD series will be extremely helpful in creating our old age face sculpt. It goes through every step of the sculpting process detailing procedure, tools and materials. The makeup he was creating is a little more of an exaggerated age than our sculpt but the techniques involved are still the same and will not only be useful in this but in all future sculpting.

Saturday, 9 October 2004

Distinctions of race in ageing.

As society becomes more culturally and ethnically diverse the impact of race on ageing is becoming more and more diluted. The clearly defined descriptions of different races have begun to blur making it more difficult to predict how people will age.

There are three major racial/ancestral groups that have a distinct physical appearance:
- Caucasoid (European)
-  Negroid (African
- Mongoloid (Asian)
There are also a multplicity of physical appearances that exist within each of these groups.

56 - face shapes and bone distinctions between each major group
 European
Caucasian people are generally referred to as white (this is not necessarily true) Many Caucasian skulls preesent a seemingly flat profile, with retreating or backwards slanting zygomatic bones. Anterior skull shows longer and narrower nasal openings than its African or Asian derived counterparts.
 - Mediterranean
 short, olive complexion, dark hair and eyes, long head, oval face, small mouth
- Alpine
round head, broad face, dark complexion, dark wavy hair, thick eyebrows, brown eyes, heavy body hair
 - Nordic
- tall, light complexion, fair hair, blue eyes, long head and face, prominent nose and chin.

African
 - West African
long headed, medium statue, well developed long arms, short legs, projecting chin, broad nose, think lips, dark eyes
 - Nilotic
tall, slender, longer head
- Pygmies
short, dark hair, light brown with yellow to very dark chocolate brown, average stature of 4ft 6 in. round head, full lips, flat broad nose.
- Bushmen
short frizzy hair, yellow to olive skin, wrinkles at early age, small head, flat broad nose, below 5ft

Asian
- Chinese
medium stature, long to round head, yellow-brown pigmentation, oblique eyes with mongolian fold, black straight hair
- Japanese (fine)
tall and slender, elongated face, n arrow arched nose, straight or oblique eyes
- Japanese (course)
short, broad face, rounded nostrils, oblique eyes, darker complexions.

Knowing these traits is important for makeup artists not only so they can do racial transformations but also so you ca tell what race/combination of races people are and thereofore how they will age etc. For example doing an age sculpt for a Japenese face would be very different to how I will do my age sculpt and it is essential makeup artists know they differences and not just their own.


Debreceni, T (2013) Special Makeup Effects for stage and screen. 2nd edition. Abingdon. Focal Press

Monday, 19 July 2004

Sculpting Research 2

Materials

- Chavent Le Beau Touche, NSP or Monster Clay
- Rotating sculpture stand
- Oltracal or resin positive
- Sculpting tools (wood + metal)
- Brushes
- Plastic wire brush
- Plastic toothpicks
- Lighter fluid
- Toothbrush
- Baby Powder
- Reference photos
- Serrated Scraper

Rub vaseline onto the mold to help the clay adhere to it

Clay
- Don't use sulfur infused clay as this will prevent the silicone from curing
- Water based clay takes texture stamps more easily with less pressure and is easier to work with quickly because it's soft
- Oil clay (like Le Beau Touche) is firmer than water based clay but easily warmed for malleability ] and takes texture stamps easily.

Reference Photos
- Sculpting from memory is difficult and can be practically impossible if skill level is below expert
- Most makeup artists have a large reference library that they work from.

57 - face cast

58 - rough joker sculpt

1) Place positive of actors face on the sculpture stand - become familiar with the face

2) Draw line in pencil on the cast to recreate where you want to place the clay. It makes it easier to have a plan beforehand so nothing goes wrong.

3) Begin the place bits of clay where you've drawn the lines. This is the roughing in stage and can be done with just clay and fingers

4) Keep adding small bits of clay at a time to block out the shape you want.

5) Begin to sketch lines in the clay where you will eventually place finer detail - can place pieces of clay together as well

6) Begin to crosshatch over the chunks of clay that was placed with the hands - rake the surface and smooth and blend rough areas.

7) Continue to add clay and block until all the main features and shapes have been created.

Refining Sculpture

1) Refine your tool selection to create finer detail in sculpture

2) Take a plastic wire brush and lightly brush over whole surface where have been using rake and loop tools to remove the tool marks

59 - refining sculpture with medium rake tool

3) Use a solvent to soften the clay - it breaks down the surface and can smooth out any blemishes in the clay

4) Some detail may be have been lost with the solvent so might need to go back in and recarve some detail

5) When piece is completely hard and dry brush talcum powder all over the piece, this whisks away little balls of clay

6) Some lines may be too harsh so go over with a toothbrush to refine and increase detail

60 - talcum powder and bristle brush to rake away lumps.

7) Repeat steps 5 and 6 until completely happy with texture - fine lines, coarse lines, sharp and soft lines.

61 - layered wrinkle texture

8) Begin to make pore texture. Small indentations along the nose, brush back, soften and then add more. Can use anything from an orange peel to a toothpick etc.

9) Any elongated pores need to be vertical not horizontal.

10) Add small bits of raised texture using clay slurry (bits of clay and solvent)

62 - bumps added with clay slurry


11) Check edges are as fine as you can make them.


Friday, 27 February 2004

Skin Ageing

As skin ages it goes through many changes caused my natural processes int he skin. Ageing skin can be split into some discernible factors that altogether make an aged face.

69

Dryness

70

- As we get older, the skin gets drier

- This happens because as the skin ages, it produces fewer natural moisturizing oils, due to a decrease in hormone production

- It's also caused by collages breaking down slower (collagen is a fibrous protein that helps maintain the skins firmness)


Thinner


71
- Skin becomes thinner as we age which reveals more blood vessels and other internal structures

- This can cause sores on old peoples skin as it becomes very fragile and papery

- This occurs because the skin loses some of the fatty layer that lies below the epidermis which is the outermost layer of skin. Less fat means less cushioning so skin breaks and bruises more easily

- slower cell regeneration is another cause of thinness

- sun exposure is also a big factor as this breaks down collagen and elastin fibers meaning it becomes more fragile and loses elasticity


Sagging


72
 - the skin begins to sag as we get older

- the sagging is partly due to the thinning of the skin - it decreases the levels pf skin fat, collagen and elastin meaning the sagging skin becomes more prominent.

- if there has been a significant weight change the skin can lose elasticity sooner and it can show more stretch marks and drooping.

- As we age the amount of lymphatic drainage (the process which rids the body of toxins) decreases, resulting in the breakdown of support structures that keep the skin firm.

- In women the amount of estrogen produced decreases, this hormone helps keep the skin tight so this can cause further sagging


Age Spots


73
- Age spots begin to enter into our skin around the 40s and 50s. They are also referred to as liver spots and solar lentigines.

- They are masses of pigmentation that appear on the skin that gets the most exposure to sunlight

- They are caused by damaging UV light. UV accelerates the production of dark pigmentation called melanin

- Age spots are a defensive reaction from your skin as it attempts to protect deeper layers of flesh

- They are flat not raised and can be black, brown or gray in colour - they are the size of freckles but often appear in clusters so seem much larger


Wrinkles

74
 - Wrinkles are the main form of ageing that first appear and that people recognize.

- Caused by the natural processes of skin getting thinner, drier and losing its elasticity

- Smoking can cause earlier and accelerated wrinkles because smoking reduces the blood supply to the skin

- people with lighter skin tend to get more wrinkles as their skin is more easily damages from environmental factors

- Genetic factors influence wrinkles a lot from when they occur to where on the face they occur

- Exposure to sunlight is a big factor as UV speeds up the skins ageing process

- Facial expressions are also a main factor in wrinkles and usually cause the first ones to appear. Each time we use a facial muscle a groove forms underneath the skin. When we are young the skin springs back into place but as we get older the springing back becomes harder and less frequent.

Friday, 3 December 1999

Sculpture Research 3

Character Makeup Sculpting - Stan Winston

- Put clay into over to heat up and make more malleable

- If it's a multi-piece sculpt have to make decisions at the beginning where you want the pieces.

- Paint cast the colour of the clay as it's easier on the eye.

114

- Put three layers of alcote on the cast so can float of the sculpt at the end.

- When sculpting you can't have enough reference images around you. Want to out as much reality into the makeup as possible.

115

- Follow the natural bone structure on the face so the pieces move with the face.

116

- Exaggerate the natural skull.

117

118

- Add clay about 1/8 inch high.

- Just block the clay in place, getting the big forms. Discovery to see what works and what doesn't

119

- Can create a slight character in the sculpt (slightly furled, frowned brow) but want to leave relatively natural so actor can display emotion

- Tendons come off the jowls. follow the natural muscles in the neck.

120


- When sculpting lip appliances can't go all the way into the lip as it won't stick so about half way down the lip.

- Use a rake tool to both homogenize the shapes and cut deeper into any areas.

121

- Change to smaller tools for smaller places.

122

123

- Rake the entire surface of the piece

- At this stage can still be adding lumps of clay.

- After whole surface is homogenized begin to block out wrinkles. Wrinkles are secondary form so shouldn't be done until after primary forms are complete ( bone structure, areas of lots of flesh and skin)


124
  
- Carve a center line to check symmetry. Nobody's face is perfectly symmetrical but want it roughly similar.

125

 - Use calipers to measure if the face is even/ symmetrical in different places ( nose to ear, ear length, eye distance etc.)

126

127

- Add in wrinkles. They naturally follow the stress lines of the face. They can overlap each other for a leathery, hanging skin effect.

128

129

- Carve some wrinkles much deeper to keep 3D. Can also add small sausages of clay to raise areas of wrinkles.

130

- Use a stipple sponge to take the edge off the wrinkles slightly and give some texture.

- Lay plastic over sculpt and begin to press in pores. Pores are elliptical according to the stress lines of the face so pull the tool downwards to make oval.

131

- Break up areas with wrinkle tools etc. so nothing looks too regimental. Keep repeating texture steps until happy.

132

- Lay on sausages of clay for temple veins and blend out.

133

 - To soften and finish everything there are 2 methods. Baby powder to burnish down slightly.

134

- Or alcohol / solvent.

135

Finished Piece

136

I found this DVD very helpful as it had a lot of sculpting techniques and showed in real-time how a sculpture comes about. The ageing techniques will be very helpful in my ageing face cast even though they were exaggerated in this the techniques will be the same. It talked through a lot of tools and products which will be useful to me and it was very interesting to watch.