Character Makeup Sculpting - Stan Winston
- Put clay into over to heat up and make more malleable
- If it's a multi-piece sculpt have to make decisions at the beginning where you want the pieces.
- Paint cast the colour of the clay as it's easier on the eye.
 |
| 114 |
- Put three layers of alcote on the cast so can float of the sculpt at the end.
- When sculpting you can't have enough reference images around you. Want to out as much reality into the makeup as possible.
 |
| 115 |
- Follow the natural bone structure on the face so the pieces move with the face.
 |
| 116 |
- Exaggerate the natural skull.
 |
| 117 |
 |
| 118 |
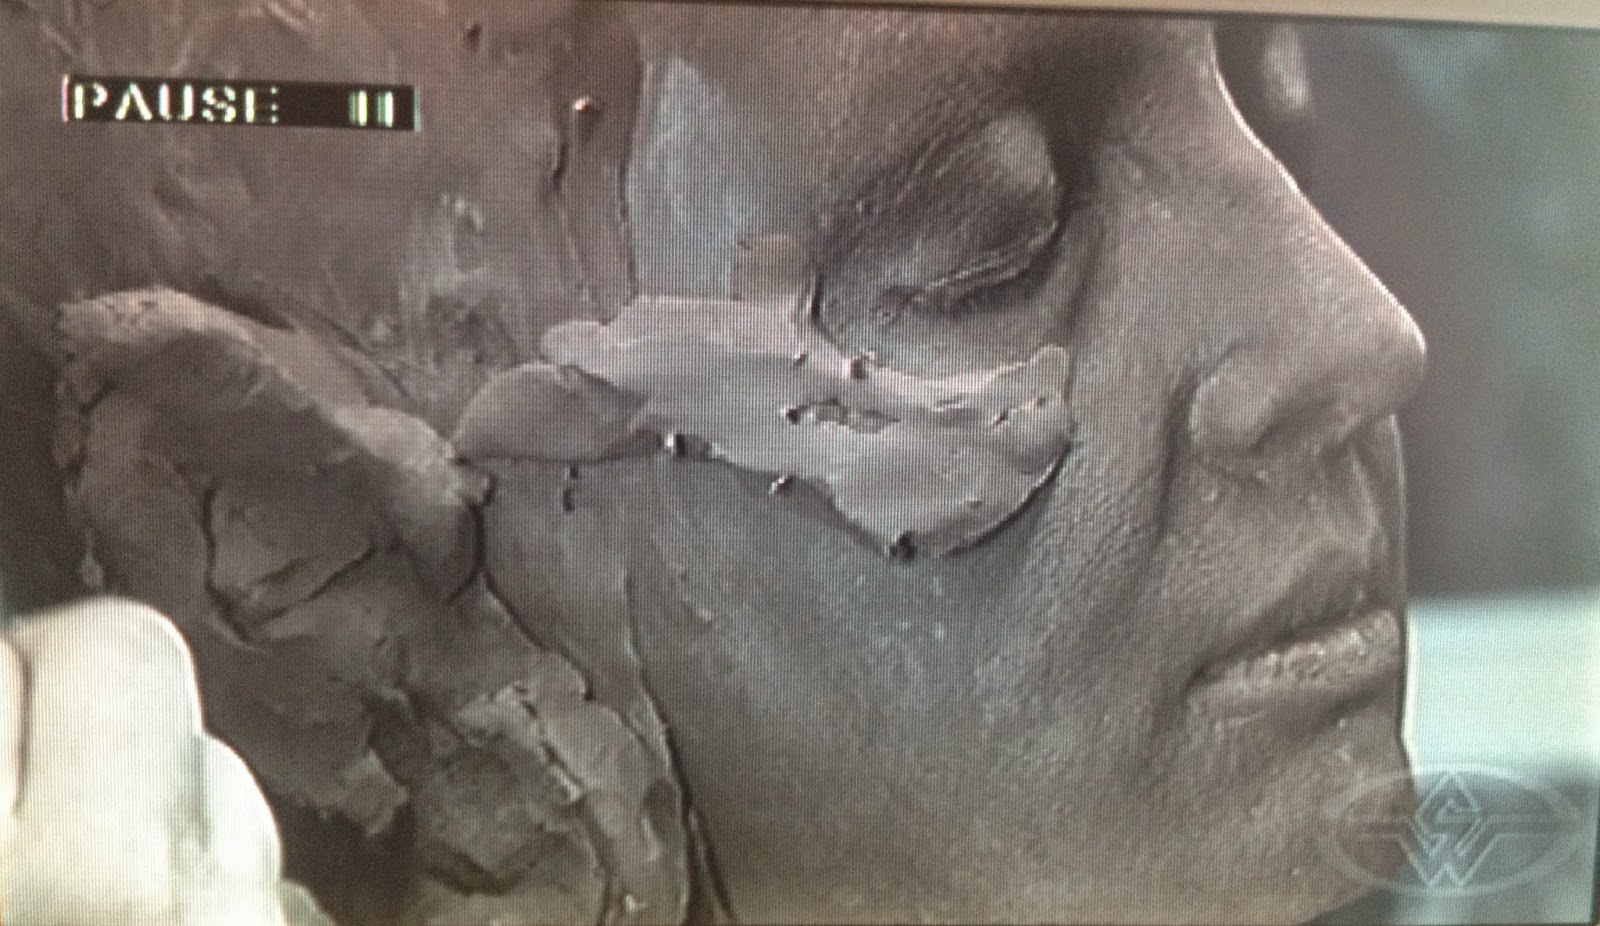
- Add clay about 1/8 inch high.
- Just block the clay in place, getting the big forms. Discovery to see what works and what doesn't
 |
| 119 |
- Can create a slight character in the sculpt (slightly furled, frowned brow) but want to leave relatively natural so actor can display emotion
- Tendons come off the jowls. follow the natural muscles in the neck.
 |
| 120 |
- When sculpting lip appliances can't go all the way into the lip as it won't stick so about half way down the lip.
- Use a rake tool to both homogenize the shapes and cut deeper into any areas.
 |
| 121 |
- Change to smaller tools for smaller places.
 |
| 122 |
 |
| 123 |
- Rake the entire surface of the piece
- At this stage can still be adding lumps of clay.
- After whole surface is homogenized begin to block out wrinkles. Wrinkles are secondary form so shouldn't be done until after primary forms are complete ( bone structure, areas of lots of flesh and skin)
 |
| 124 |
- Carve a center line to check symmetry. Nobody's face is perfectly symmetrical but want it roughly similar.
 |
| 125 |
- Use calipers to measure if the face is even/ symmetrical in different places ( nose to ear, ear length, eye distance etc.)
 |
| 126 |
 |
| 127 |
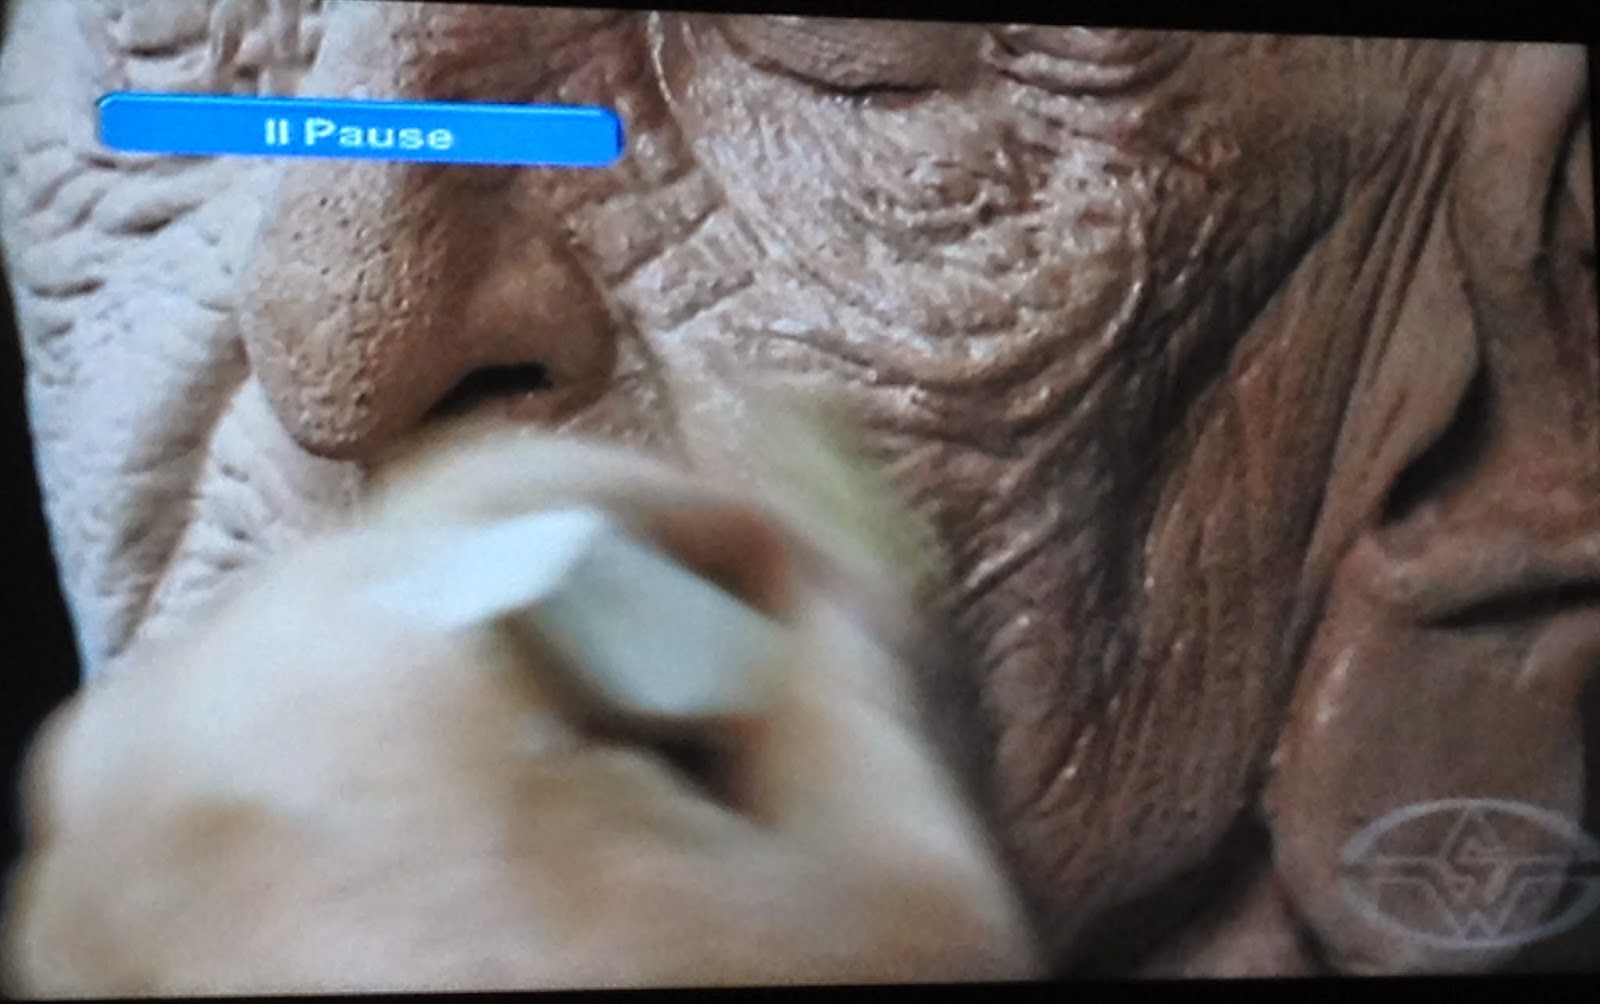
- Add in wrinkles. They naturally follow the stress lines of the face. They can overlap each other for a leathery, hanging skin effect.
 |
| 128 |
 |
| 129 |
- Carve some wrinkles much deeper to keep 3D. Can also add small sausages of clay to raise areas of wrinkles.
 |
| 130 |
- Use a stipple sponge to take the edge off the wrinkles slightly and give some texture.
- Lay plastic over sculpt and begin to press in pores. Pores are elliptical according to the stress lines of the face so pull the tool downwards to make oval.
 |
| 131 |
- Break up areas with wrinkle tools etc. so nothing looks too regimental. Keep repeating texture steps until happy.
 |
| 132 |
- Lay on sausages of clay for temple veins and blend out.
 |
| 133 |
- To soften and finish everything there are 2 methods. Baby powder to burnish down slightly.
 |
| 134 |
- Or alcohol / solvent.
 |
| 135 |
Finished Piece
 |
| 136 |
I found this DVD very helpful as it had a lot of sculpting techniques and showed in real-time how a sculpture comes about. The ageing techniques will be very helpful in my ageing face cast even though they were exaggerated in this the techniques will be the same. It talked through a lot of tools and products which will be useful to me and it was very interesting to watch.

No comments:
Post a Comment